Starting with a bare-bones T3:
- Remove two side screws on case and three screws on rear of case.
Put all five screws in one pile - these should be identical. - Remove case cover.
- Remove two rear screws holding the HDD caddy
Put these on a different pile - these may be different to the other case screws. - Remove two front screws holding the HDD caddy
Put these on yet another pile - these may be different to all the other screws. - Remove the HDD caddy.
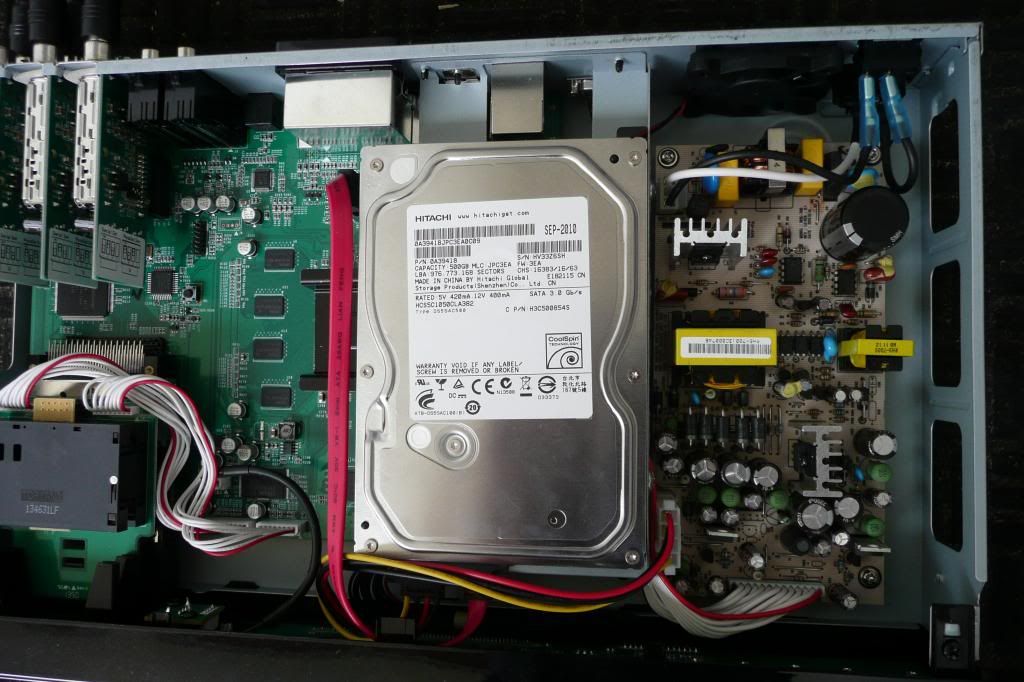
- Disconnect the power cable from the motherboard, twist it over so it routes around the edge of the power supply and folds down flat under where the HDD will be mounted, then reconnect the power cable to the motherboard.
- Mount the HDD in the caddy as far towards the rear as possible, with the SATA connector facing the front panel.
- Reinstall the HDD caddy with the drive in it's place, using the correct screws set aside earlier. Pay attention to the routing of the power cable - it should be possible to route it between the two support pillars of the HDD caddy, without obscuring the mounting screws and without touching the front panel.
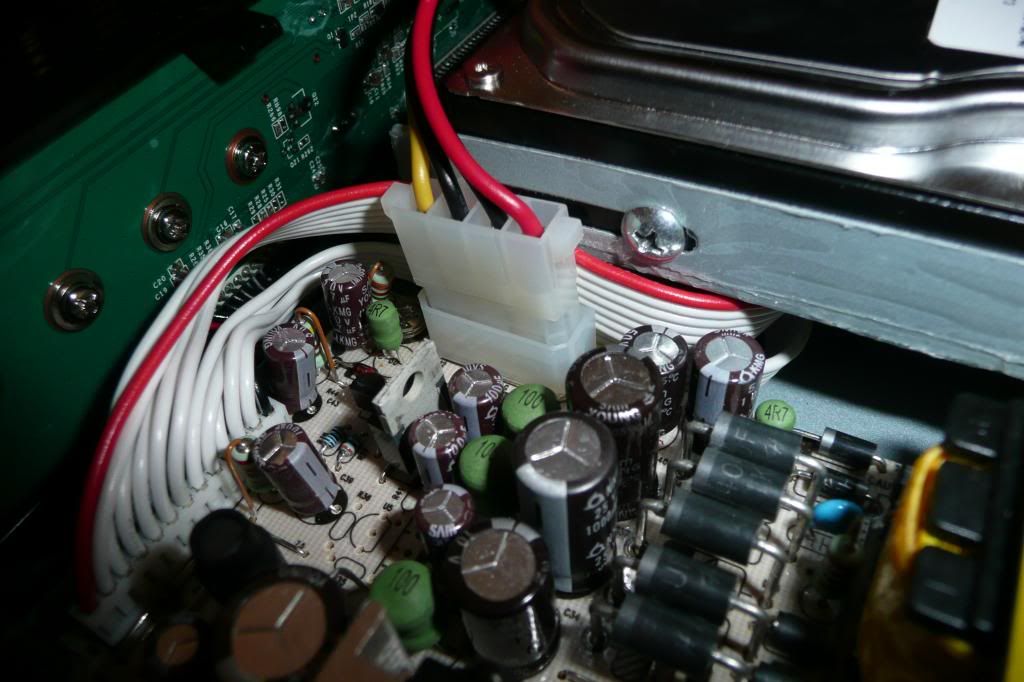
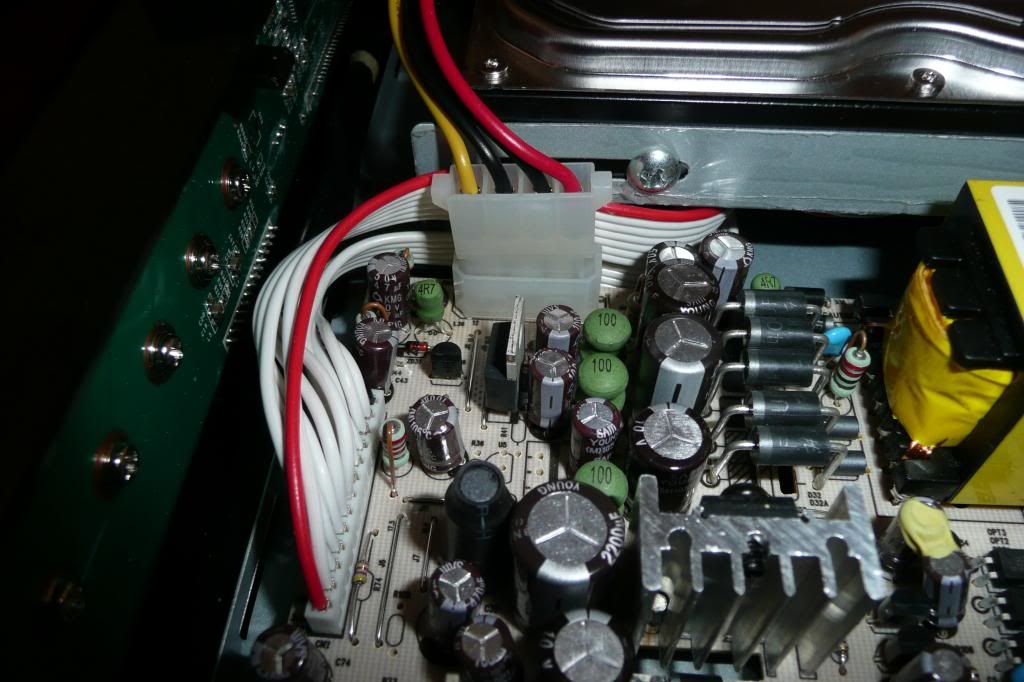
- Take the combined SATA/power cable and gently bend the cables near the connector upwards.
- Slide the SATA cable connector between the front panel and the HDD.
- Align the SATA cable connector with the HDD and push the connector into place.
- Tuck the SATA and power cables under the plastic tab that holds the case cover and front panel in place and route the power and SATA connectors to their destinations.
- Firmly secure the power and SATA connectors to their sockets, then neatly route the cables in the available space. Ensure that the cables do not touch the screws on the front panel behind where the touch sensitive buttons reside.
- Replace the cover.
- Job done.
Here are a few pictures of what it looks like when you are done.